Now everyone can wallpaper!
Before you start:
Make sure the wall is dry, smooth, clean, free of dust, and neutrally coloured. Remove all spots and even out any colour differences, or these may show through the smartpaper. Any holes or cracks must be filled and sanded smooth. Highly absorbent surfaces should be primed.
Step 1
Put paste on the wall with the help of a roller.

Advantage: no wallpapering table necessary, no need to soak the wallpaper.
Tip: Allow an overlap of 6-8 inches (15-20 cm) extra paste on the wall. This way you will avoid touching the already pasted drops.
Step 2
Apply non-woven wallpaper directly to the wall.

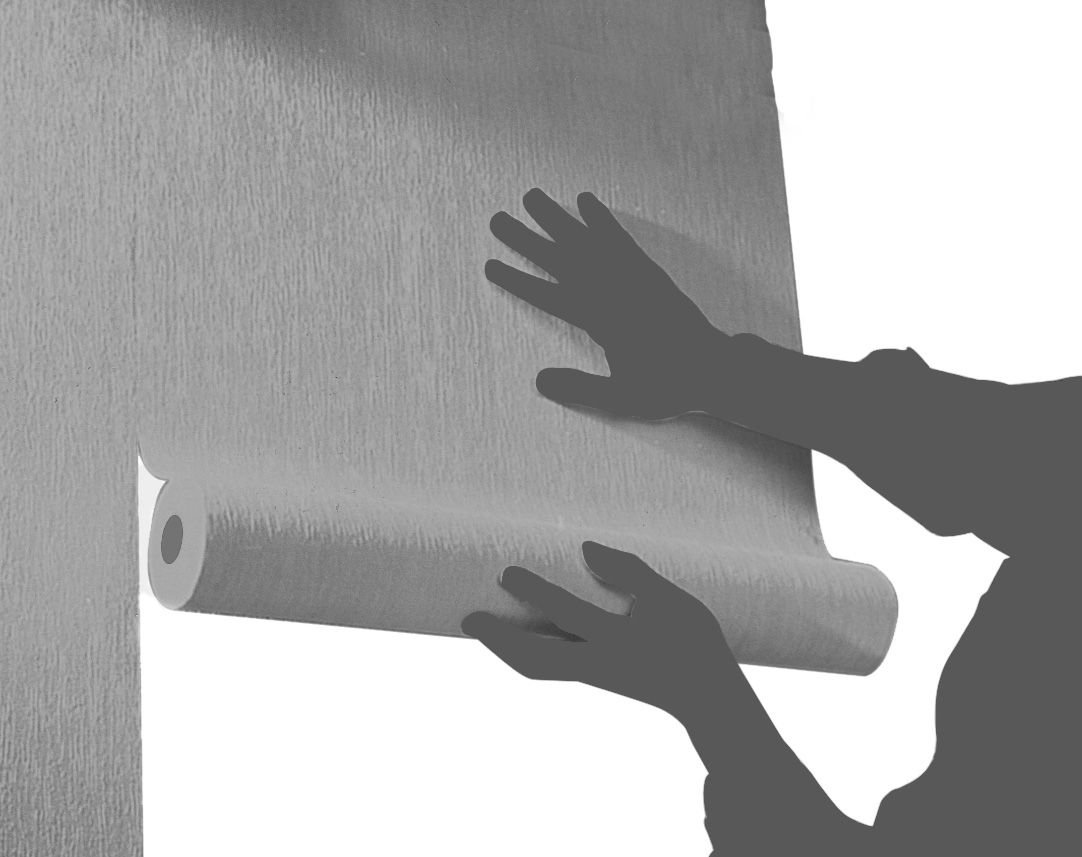
Advantage: clean work and easy to correct.
Tip: After cutting the non-woven wallpaper at the right lengths and pasting the reverse side, roll up with the pasted side on the outside. This way the drop can be simply and carefully rolled out with the pasted side on the wall. Use a wallpaper spatula and seam roller to smooth over and press the seams.
Step 3
Cut the non-woven wallpaper to size - ready!
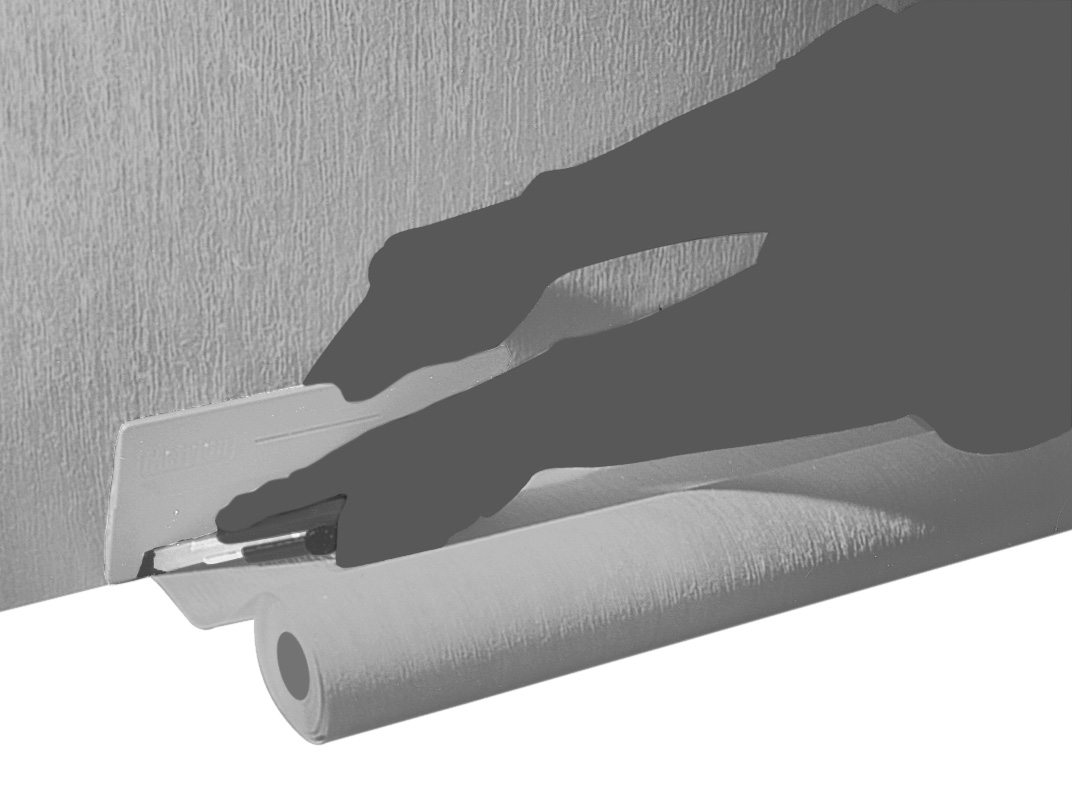
Advantage: dry non-woven wallpaper is much easier and more precise to cut to size than soaked paper.
Tip: Cutting to size at the ceiling and plinth can be best achieved with the help of a wallpaper ruler and cutter with snap-off blades.
Step 4
Years later simple to remove - dry.

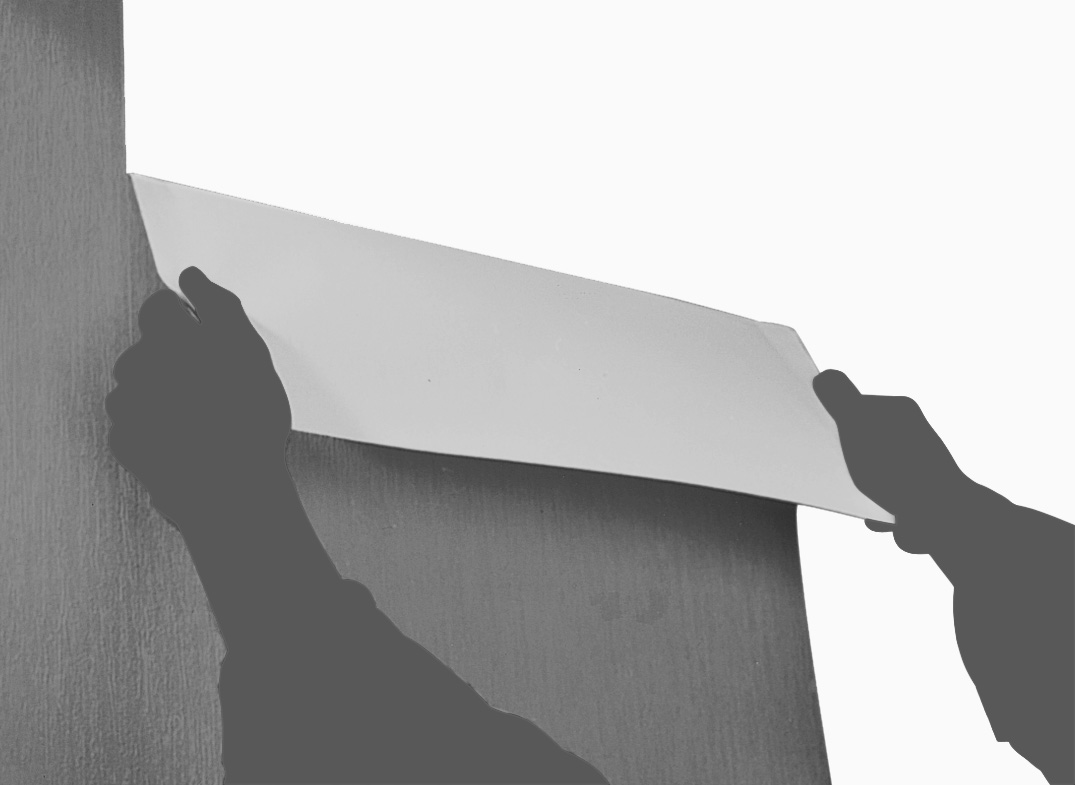
Advantage: Non-woven wallpaper that has been correctly pasted is easy to remove by simply pulling the dry wallpaper by hand from the wall. The wall stays dry and undamaged, making it easy to re-apply a new non-woven wallpaper